So this year I thought I'd show you how to make a very easy, no sew St Patrick's Day Shamrock Garland:
You will need:
Felt in different shades of Green –
You can use as many or few as you like, I used these 5 shades:
Dark Green, Emerald Green, Mint
Green, Light Green and Jade Green
Shamrock templates
Black biro
Pins
Scissors
Small lengths of ribbon
Needle and matching green thread
Instructions:
Cut out the templates. Then double up the felt, so you are working with 2 layers at a time. Pin the templates to the 2 layers of felt and draw around the templates with the black biro
Remove the templates and then
cut out your shamrock shapes. I did two of each sized template in
each colour.
If like mine your felt is a bit
wrinkled you can iron it flat. Place the felt on the ironing board
and cover with a piece of muslin or a thin tea towel and then iron
(you can use quite a hot setting this way, but if you don’t use
the muslin/tea towel you will have the felt stuck to your iron!)
Use your scissors to snip a
thin horizontal cut into one of the shamrocks – Make sure you
don’t make the cut too wide or the stalk of the next shamrock will
fall out
Then thread another shamrock
stem through the hole and repeat at the top of the second shamrock. Mix and match the colours and the sizes throughout your garlands.
Once you have a string of
shamrocks as long as you’d like (mine were 10 shamrocks per
string, so I made 3 separate strings) sew one of the pieces of
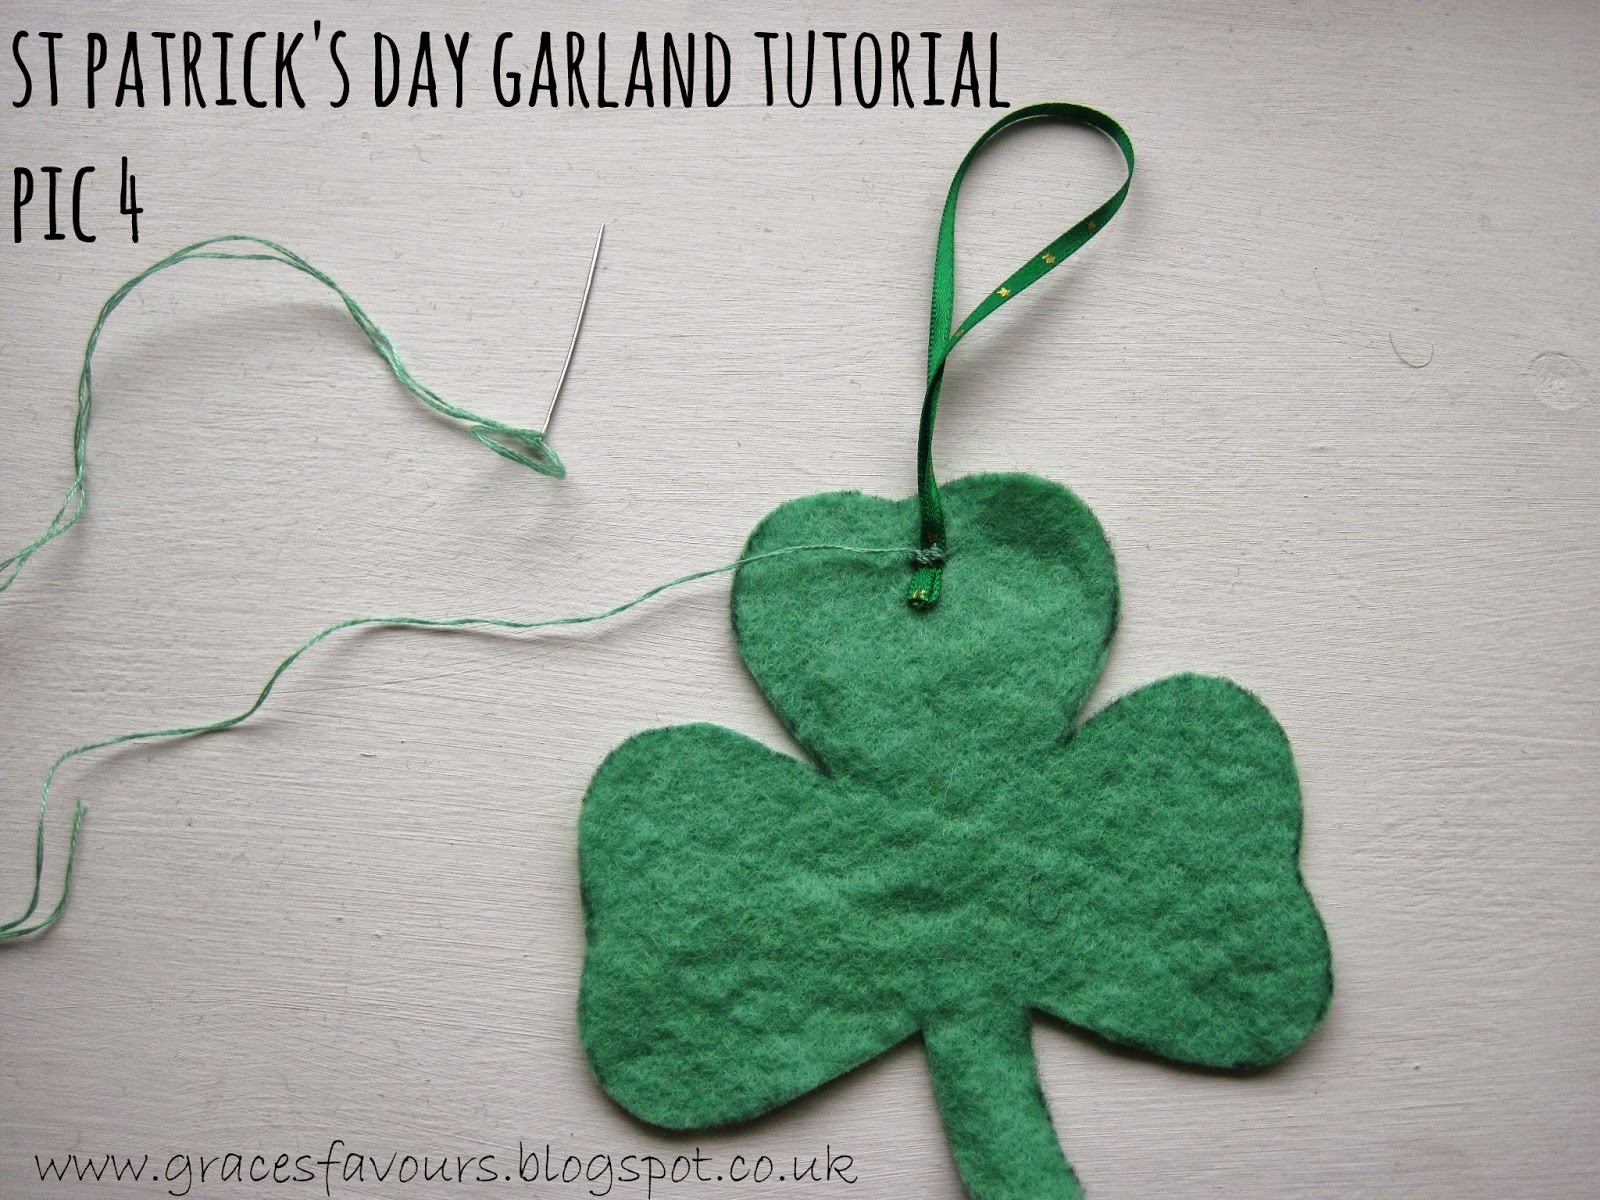
ribbon in a loop to the back of the top shamrock
Then hang and admire!
I hope you've enjoyed this tutorial - if you make any St Patrick's Day Garlands I'd love to see some pictures!
Happy Paddy's Day!


No comments:
Post a Comment
I really appreciate all comments made on the blog (it reminds me that I'm not talking to myself!) so just wanted to say thanks for adding your thoughts. Simmi x