Welcome to my little corner of the blogosphere to share the ups and downs of starting a craft business, with plenty of tips, mishaps and the odd glass of wine!

Friday, 14 December 2012

12 Days of Christmas... Gift Guides

The wonderful team that I am part of on Etsy have some tireless leaders who have been working very hard to provide 12 gift guides for the 12 Days of Christmas and each day focuses on a different topic.


I've been meaning to blog about the wonderful collections that Erika (one of the aforementioned tireless leaders) has been putting together, but first I thought I'd share some of the wonderful jewellery that Erika makes & sells in her lovely shop and the profits for which she very generously gives to charity:
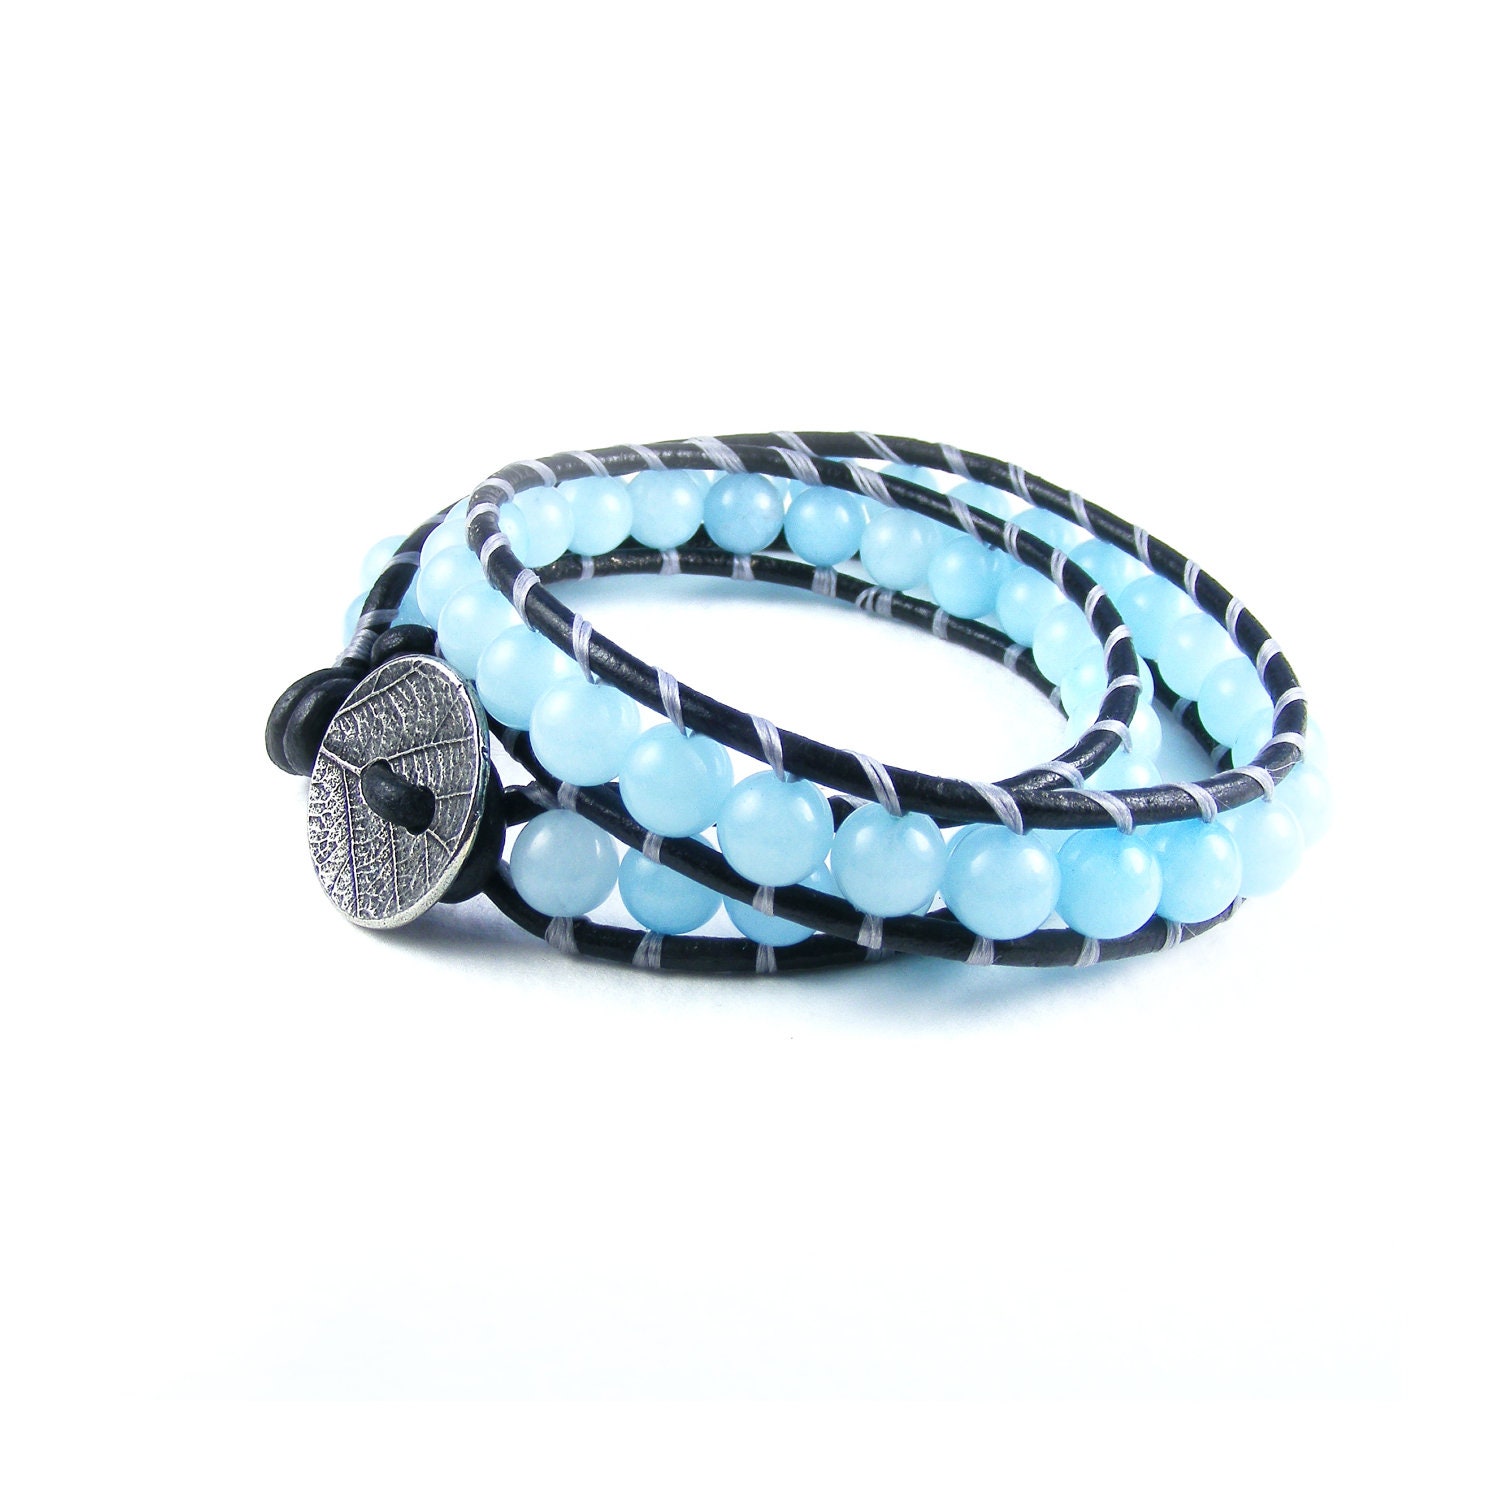
Beaded Leather Wrap Bracelet, Handmade Black Leather & Blue Chalcedony Cuff, Double Wrap Leather Bracelet, Small
Beaded Leather Wrap Bracelet
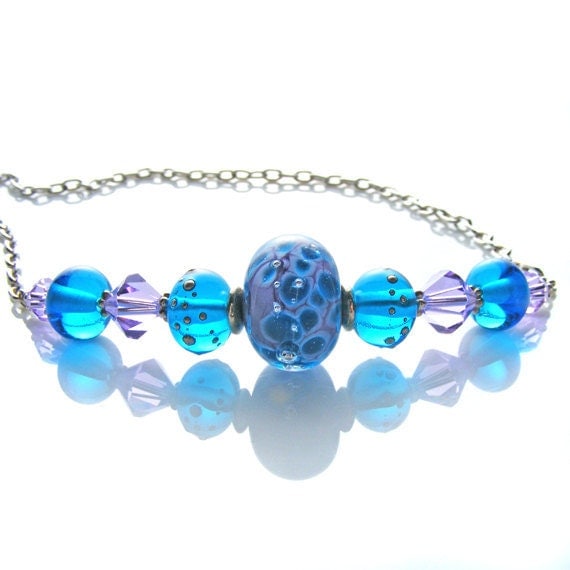
Sky Blue Necklace, OOAK Artisan Handcrafted Lampwork Glass & Sterling Silver Necklace, Blue Violet, Handmade Beaded Jewelry
Sky Blue Necklace, Handcrafted Lampwork Beads & Sterling Silver
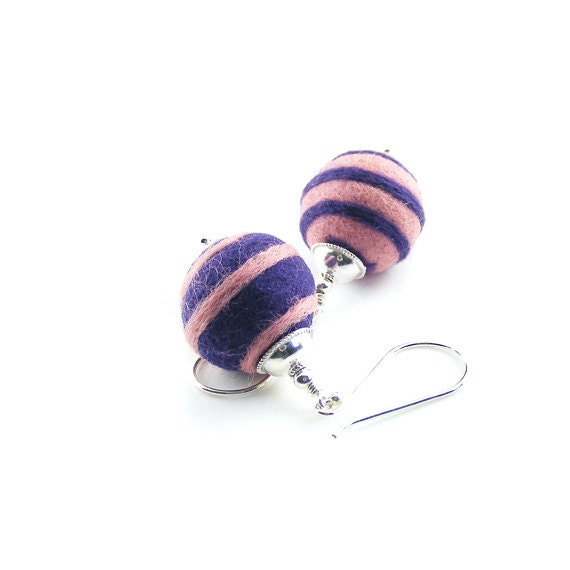
Felt Ball Earrings, Sterling Silver & Merino Wool, Handmade Felt Earrings, Pink Purple Spirals
Felt Ball Earrings, Sterling Silver & Merino Wool
All the above are on my wishlist should anyone be after ideas for presents for moi ;-)

The Gift Guides that Erika has been producing are collections of items all handmade by the very talented makers within the team and you will be spoiled for choice no matter who you are buying for!

The 12 Days of Christmas Gift Guides can be found on the official Craft Britannia blog and (so far) they include 


Sorry for the lack of pictures from the Team CB blog, but my blog knows it's Friday and wants me to stop working now!

Have a great weekend all 
xxx

PS. Although technically not so much about my handmade makes, this is going to be my post for the last Handmade Monday of the year as I haven't quite got the time to squeeze another post in on time!

So for anyone who doesn't pay us a visit till the next Handmade Monday - I hope you have a wonderful Christmas & New Year!

Monday, 3 December 2012

Felty Christmas Tree Ornaments Tutorial


I thought it was about time I did another tutorial and as I'm completely in the festive mood, I thought I'd share a Christmassy one with you... how to make a Christmas tree ornament for your Christmas Tree!


You will need:

2 squares of dark green felt
1 small square of dark brown felt
2 small squares of white felt
I piece of ribbon
Assorted sequins
Dark green embroidery thread (2 strands)
White embroidery thread (2 strands)
Gold/silver/white embroidery thread (1 strand)
Small amount of toy stuffing (you could use cotton wool if you don't have any toy stuffing)
Scissors
Pins
Templates (see end of the tutorial)
I Forgot to add the ribbon to the picture of the supplies
So here it is on its own


Step 1:

Print out the templates, there are two tree sizes, you can start with either - just make sure you use the corresponding tree trunk piece & the snow piece.

Pin the tree template to the two pieces of dark green felt and cut out. Pin the corresponding trunk template to the dark brown template and cut out. Pin the snow template to the pieces of white felt and cut out.

Tree template pinned to both pieces of green felt
Trunk template

Snow for top of tree
Step 2:

Sew white felt onto one of the green tree pieces, don't sew too close to the edge, so you have space to sew the green pieces together (see photo at Step 3) repeat for the other piece. These will now become the outer pieces of your tree ornament.


Next using the single strand of embroidery thread (in whichever colour you have chosen) sew on your sequins to both outer pieces of the tree.


Step 3:

Once you've got all your sequins sewn onto both pieces of tree, it's time to sew the tree pieces together. Take your trunk piece and fold in half, and insert the raw ends in between the two tree pieces and using a blanket stitch, sew round the outside until you get to the top.


In order to blanket stitch close the tree at the top, where the white snow has been sewn on, fold back the white felt as you go round the top, like this:

This is why you don't want to sew the white piece of felt too close to the edge.


Then take your piece of ribbon and fold in two, then place it inside your trees. (Sorry - I forgot to take a photo of this bit!)

Then continue to sew round the tree until you get to the bottom corner:


This is where you poke in your toy stuffing or cotton wool, so that the ornament is lightly padded.


Then you sew up the opening and tie a knot in your thread... and Hey Presto!


If you follow this link to THE TEMPLATES, you will find both templates, at full size, although of course you could enlarge them if you wanted to.


I hope you enjoyed this tutorial - it is for personal use only, so please feel free to make as many of these as you like for friends and family, but please don't produce trees to sell or reproduce any/all of this tutorial without crediting it back to me. Thanks :-)


I am linking up to the Handmade Monday over at Wendy's fabulous blog, sorry for missing last week, but I was struggling with getting my stock up and ready for the Handmade Makers Market in Oxford! The event took place yesterday... so watch this space for pics of my stall and the low-down on how it went.

Sharing Buttons